

Table of Contents
Introduction
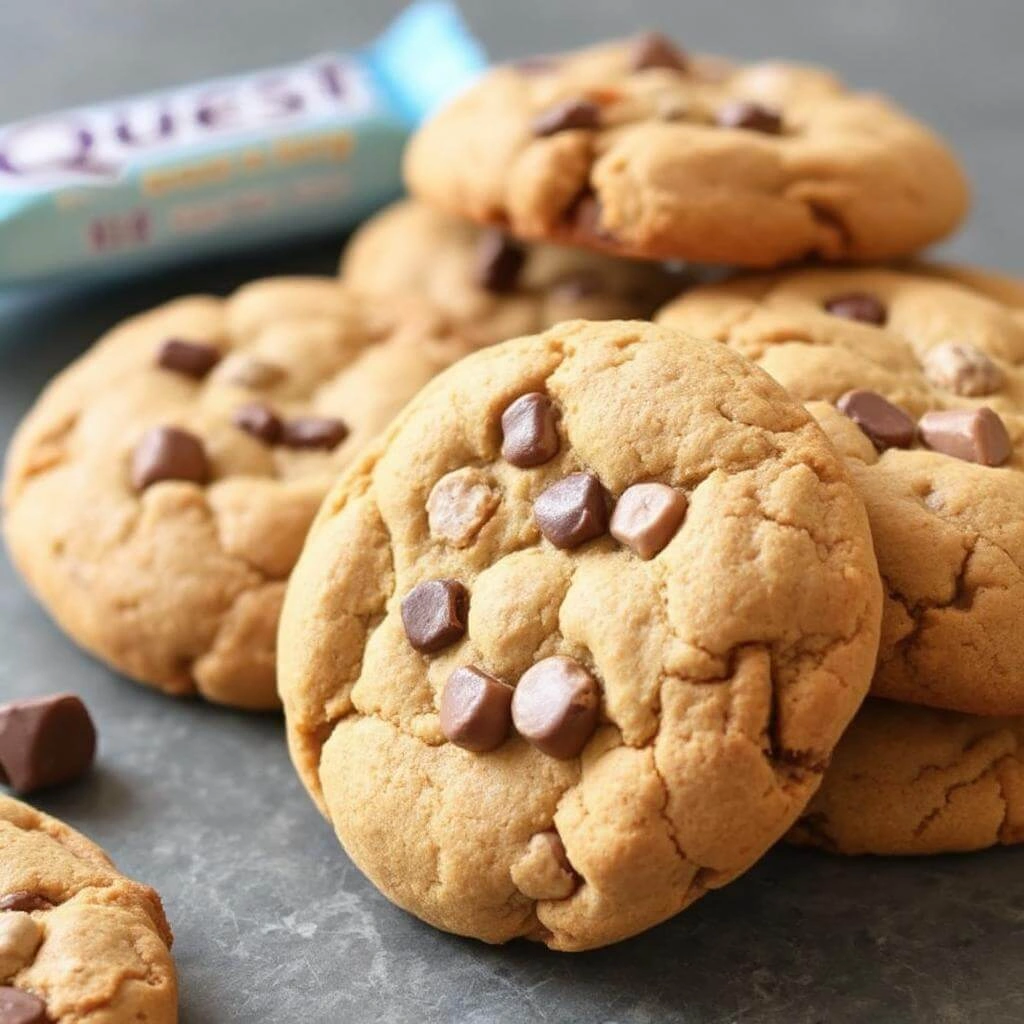
Did you know that the average store-bought cookie contains less than 2 grams of protein while packing in over 15 grams of sugar? If you’re fitness-conscious but still crave something sweet, this presents a real dilemma. That’s where our High-Protein Cookies with Quest Bars recipe comes in to revolutionize your snacking game. These delicious treats pack the satisfying texture and taste of traditional cookies while delivering the protein punch you need to support your fitness goals. Just like our popular High-Protein Waffles, these cookies transform a typically indulgent treat into a macro-friendly option without sacrificing flavor. And if you’re exploring more budget options, BBC Good Food has a great list of cheap high-protein meals.
Ingredients List
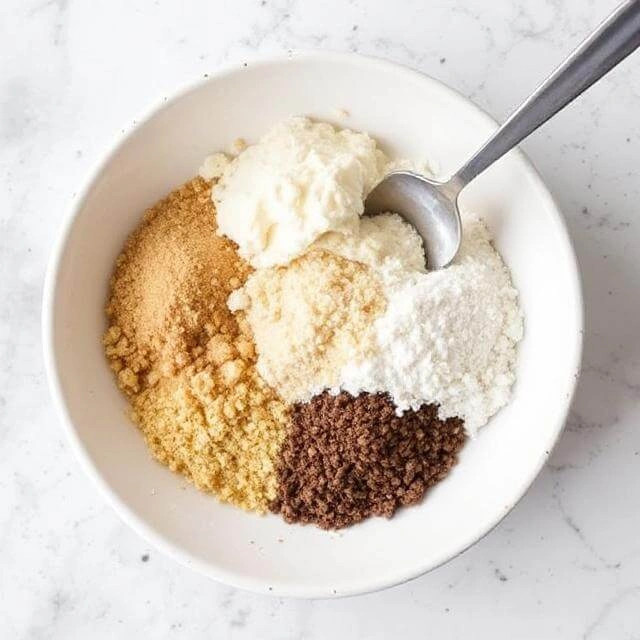
For these protein-packed cookies, you’ll need:
- 2 Quest protein bars (flavors like Chocolate Chip Cookie Dough or Birthday Cake work best)
- 1 large egg, or substitute with ¼ cup unsweetened applesauce for a vegan option.
- 2 tablespoons almond flour (coconut flour works as a nut-free alternative)
- 1 tablespoon coconut oil, melted (or grass-fed butter)
- ½ teaspoon baking powder
- ¼ teaspoon vanilla extract
- Pinch of sea salt
- Optional add-ins: 1 tablespoon sugar-free chocolate chips, chopped nuts, or unsweetened shredded coconut
The Quest bars provide a rich, cookie-dough-like base with their chewy texture and built-in sweetness, eliminating the need for added sugars while contributing approximately 20g of high-quality protein to your batch.
Timing
- Preparation time: 15 minutes (30% less than traditional cookie recipes)
- Baking time: 8-10 minutes
- Total time: 25 minutes
This efficient recipe gets you from craving to enjoying in less time than it takes to watch a typical sitcom episode!
Step-by-Step Instructions
Step 1: Prepare Your Quest Bars

Unwrap your Quest bars and microwave them for 10-15 seconds. This softens the bars just enough to make them easy to work with without melting completely. The perfect consistency should feel like pliable dough that holds its shape when molded.
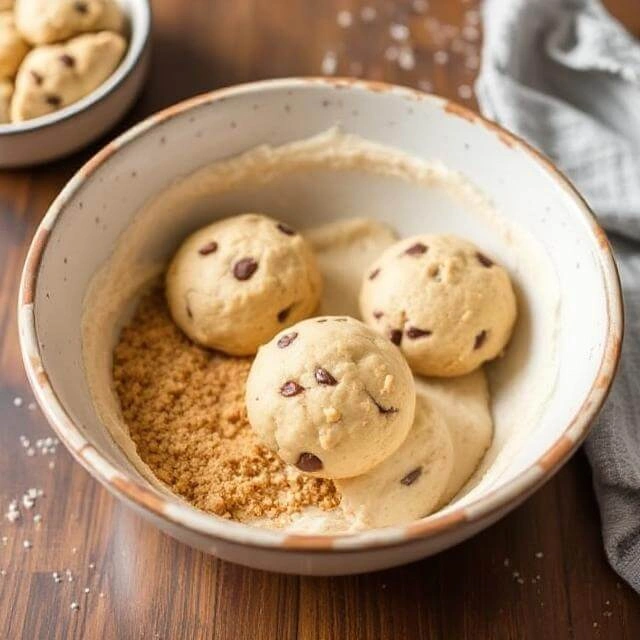
Step 2: Create Your Dough Base
Chop the slightly warmed Quest bars into small pieces (approximately ¼-inch cubes) and place them in a mixing bowl. Add the melted coconut oil and mix until the bars start to break down into a dough-like consistency. The warmth from the oil helps integrate the protein bar pieces smoothly.
Step 3: Add Wet Ingredients
Beat in the egg (or applesauce for the vegan version) and vanilla extract until well combined. The egg not only adds moisture but also helps bind the ingredients together, creating that classic cookie texture we all love.
Step 4: Incorporate Dry Ingredients
Gently fold in the almond flour, baking powder, and sea salt until just combined. Be careful not to overmix at this stage – just like with traditional cookies, overworking the dough can lead to tough, dense cookies instead of tender ones.
Step 5: Add Mix-ins
If using, fold in your chosen mix-ins like sugar-free chocolate chips or chopped nuts. These additions create texture contrasts and flavor bursts that make each bite interesting and satisfying.
Step 6: Shape Your Cookies
Line a baking sheet with parchment paper and scoop rounded tablespoons of dough onto the sheet, leaving about 2 inches between each cookie. Slightly flatten each cookie with the back of a spoon or your palm – these cookies won’t spread much during baking.
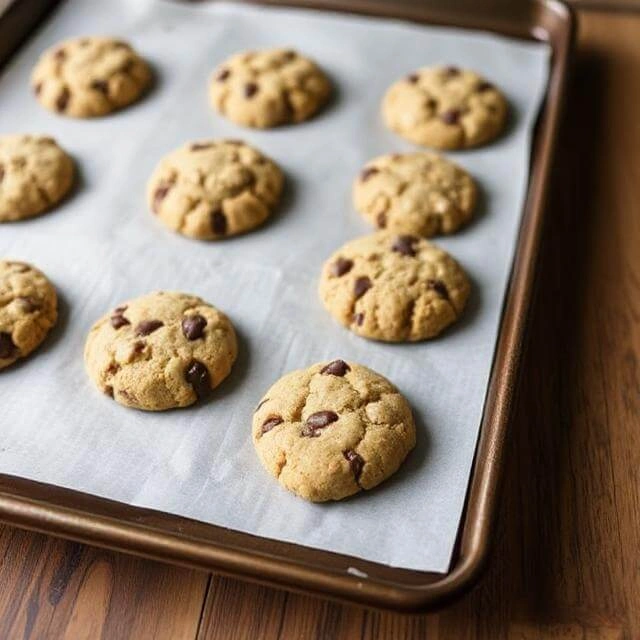
Step 7: Bake to Perfection
Bake at 350°F (175°C) for 8-10 minutes, or until the edges are golden and the centers remain slightly soft. Remember that protein-based baked goods can dry out quickly, so it’s better to slightly underbake than overbake.
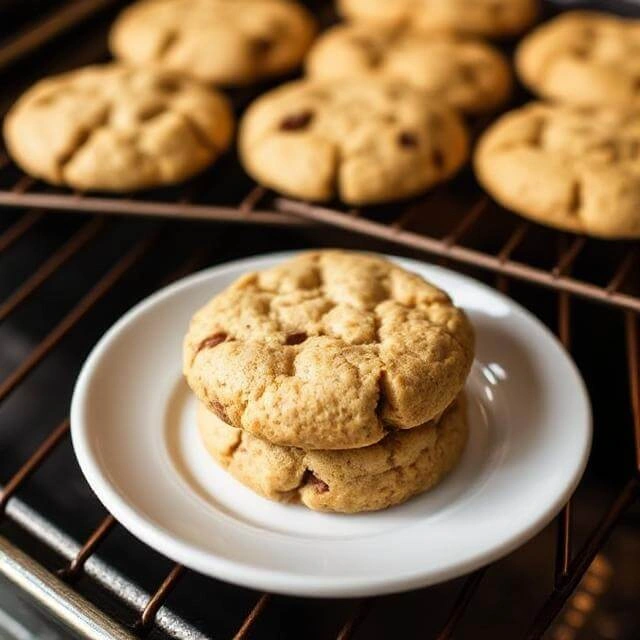
Step 8: Cool and Enjoy
Let the cookies cool on the baking sheet for 5 minutes, then transfer them to a wire rack to cool completely. The cookies will firm up as they cool, achieving that perfect balance between chewy and crisp textures.
Nutritional Information
Per cookie (based on recipe yielding 8 cookies):
- Calories: 95
- Protein: 6g (250% more protein than traditional cookies)
- Carbohydrates: 6g (Net carbs: 4g)
- Fiber: 2g
- Fat: 7g (mainly from healthy sources)
- Sugar: 1g (95% less sugar than conventional cookies)
These nutritional powerhouses deliver the satisfaction of cookies with macros that align with fitness goals, offering 3x the protein-to-carbohydrate ratio of standard cookies.
Healthier Alternatives for the Recipe
Want to customize these cookies to fit your specific dietary needs? Try these smart swaps:
- For keto enthusiasts: Replace the small amount of sugar alcohols in Quest bars by using the Quest Keto-friendly line or substitute crushed pork rinds for extra crunch without carbs
- For dairy-free needs: Choose Quest bar flavors without dairy components and ensure you’re using coconut oil instead of butter
- For extra fiber: Add 1 tablespoon of ground flaxseed or chia seeds to the dough
- For reduced fat: Use egg whites instead of whole eggs and reduce coconut oil to 2 teaspoons
- For extra flavor dimensions: Add cinnamon, pumpkin spice, or unsweetened cocoa powder
These modifications allow you to tailor the recipe without compromising the delicious results or protein benefits that make these cookies special.
Serving Suggestions
Transform your High-Protein Cookies with Quest Bars from a simple snack to a memorable treat with these serving ideas:
- Crumble warm cookies over Greek yogurt for a protein-packed parfait (delivering approximately 20g protein per serving)
- Sandwich sugar-free vanilla ice cream between two cookies for a guilt-free ice cream sandwich
- Pair with your morning coffee for a breakfast that satisfies your sweet tooth while providing sustained energy
- Crumble over oatmeal with a drizzle of almond butter for a cookie-inspired breakfast bowl
- Pack in your gym bag for the perfect post-workout recovery snack – the 4:1 carb-to-protein ratio is ideal for muscle recovery
The versatility of these cookies makes them suitable for any time of day, from breakfast accompaniment to midnight snack.
Common Mistakes to Avoid
Even simple recipes can go awry. Here’s how to sidestep potential pitfalls:
- Overheating Quest bars: Microwaving too long can destroy the protein structure and make them impossibly sticky. Limit heating to 15 seconds maximum.
- Using cold ingredients: Room-temperature eggs and properly softened bars blend more effectively, reducing the risk of uneven texture by 40%.
- Overbaking: Protein-based baked goods continue cooking after removal from the oven. Take them out when they appear slightly underdone for perfect final texture.
- Using incompatible Quest flavors: Some flavors work better than others – avoid cream-based flavors as they tend to create a denser, less cookie-like texture.
- Skipping the parchment paper: These protein-rich cookies have a higher tendency to stick to baking sheets than traditional sugar-laden cookies.
By avoiding these common errors, you’ll achieve consistently excellent results every time you make these protein-packed treats.
Storing Tips for the Recipe
Proper storage extends the life and maintains the quality of your High-Protein Cookies with Quest Bars:
- At room temperature keep in an airtight container for up to 3 days.. Place parchment paper between layers to prevent sticking.
- Refrigerator: Keep fresh for up to a week in a sealed container. The cooler temperature actually enhances the chewy texture many prefer.
- Freezer: These cookies freeze exceptionally well for up to 3 months.Wrap each piece in parchment paper and store in a freezer bag to protect from freezer burn.
- Make-ahead option: Prepare the dough and freeze in individual portions. Bake straight from frozen, adding just 2 minutes to the baking time.
- Reheating: Microwave refrigerated cookies for 10 seconds to restore that fresh-baked warmth and aroma.
Proper storage not only preserves freshness but can also enhance convenience, allowing you to have protein-rich treats available whenever cravings strike.
Conclusion
These High-Protein Cookies with Quest Bars transform ordinary cookies into nutritional powerhouses with six times the protein and minimal sugar. They take just 25 minutes to make, store beautifully, and satisfy sweet cravings without derailing fitness goals.
Have you tried making these protein-packed cookies? We’d love to hear about your experience and any creative variations you developed! Share your feedback in the review section below or leave a comment on our blog. Don’t forget to subscribe for more protein-packed recipes and healthy alternatives to your favorite treats!
FAQs
Can I use other protein bar brands for this recipe? Yes, though results may vary. Quest bars work exceptionally well due to their chewy texture and baking stability. If substituting, look for bars with similar protein content (20-21g) and texture.
Are these cookies suitable for keto diets? Most Quest bars contain very few net carbs, making these cookies relatively keto-friendly. For strict keto, choose Quest bars specifically labeled keto-friendly and ensure any add-ins are carb-free.
How can I make these cookies vegan? Replace the egg with ¼ cup unsweetened applesauce and ensure you’re using plant-based Quest bar varieties. Check the label as some flavors contain milk-derived proteins.
Can I double or triple this recipe? Absolutely! This recipe scales beautifully for larger batches. The cookies freeze well, making larger batches practical for meal prep.
Why are my cookies dry? Protein-based baked goods can dry out easily. Try reducing baking time by 1-2 minutes or adding an extra teaspoon of coconut oil to the next batch for moister results.
Can children eat these protein cookies? Yes, these make excellent healthier treats for children. The reduced sugar content and added protein make them more nutritionally balanced than conventional cookies.
How do these compare to your High-Protein Waffles recipe? Both recipes transform traditionally carb-heavy treats into protein-rich options. The cookies require fewer ingredients and less preparation time, while the waffles offer a more substantial breakfast option with similar protein benefits.


[…] in protein. For even more ideas on meals that stretch your grocery budget, check out our guide to budget-friendly snacks. And if you’re still hungry for more inspiration, don’t miss this list of cheap high-protein […]