Introduction
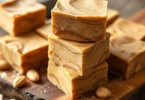
Protein Ice Cream at Home : Protein ice cream has revolutionized the way fitness enthusiasts and health-conscious individuals enjoy frozen treats. This creamy, satisfying dessert combines the indulgence of traditional ice cream with the nutritional benefits of protein powder, making it perfect for post-workout recovery, weight management, or simply satisfying your sweet tooth guilt-free.
Benefits of Protein Ice Cream
Nutritional Advantages
- High Protein Content: Typically contains 15-30g of protein per serving
- Lower Calories: Often 50-70% fewer calories than regular ice cream
- Better Macros: Higher protein-to-carb ratio supports muscle building and satiety
- Customizable: Control ingredients, sweeteners, and flavors to match your dietary needs
Fitness and Health Benefits
- Supports muscle recovery and growth
- Helps maintain stable blood sugar levels
- Promotes feelings of fullness and satisfaction
- Can fit into various diet plans (keto, low-carb, high-protein)
Essential Equipment for Making Protein Ice Cream
Blender Method (Most Popular)
- High-powered blender (Vitamix, Blendtec, or similar)
- Food processor (alternative option)
- Measuring cups and spoons
- Storage containers
Ice Cream Maker Method
- Traditional ice cream maker with freezer bowl
- Stand mixer (optional for preparation)
- Fine-mesh strainer
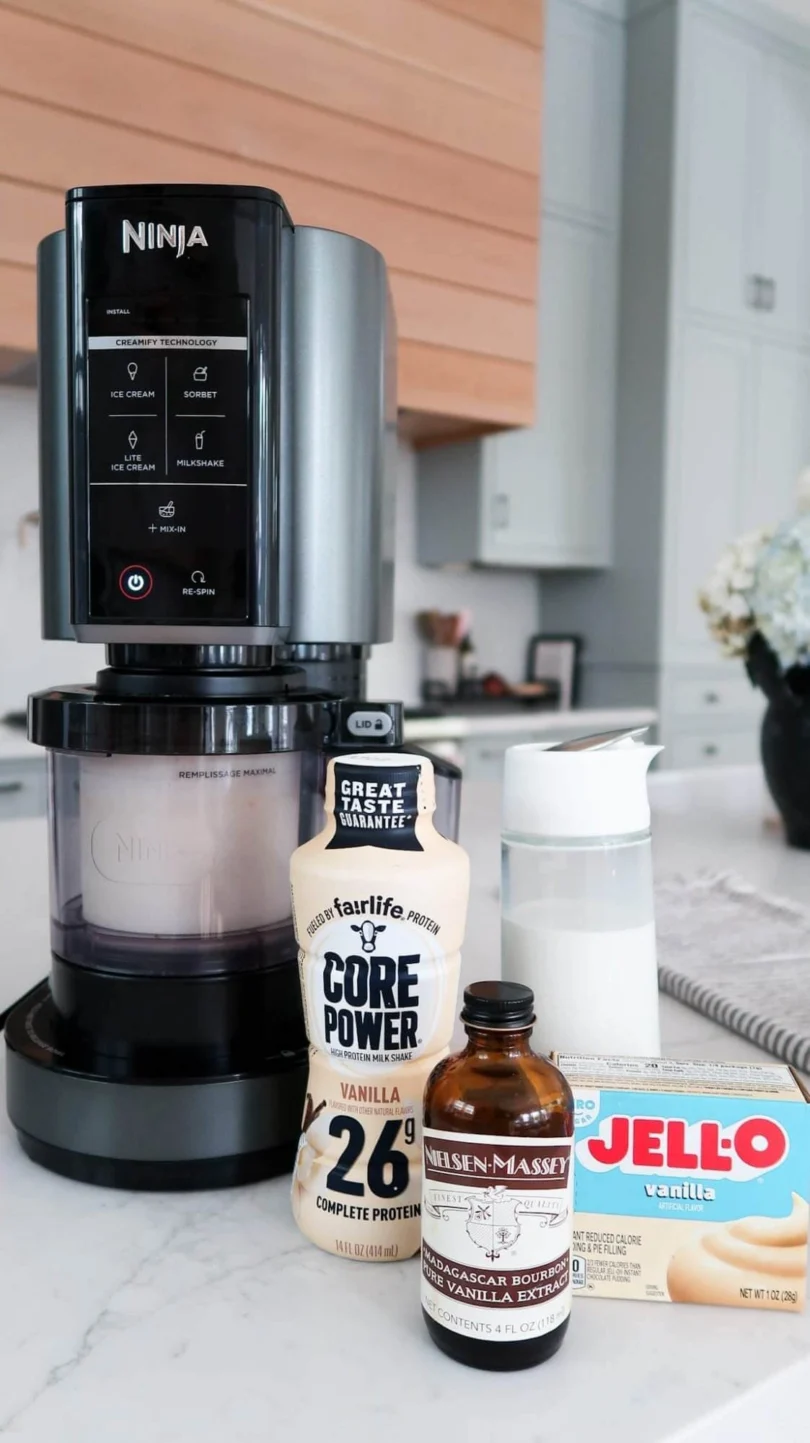
Ninja Creami Method
- Ninja Creami machine
- Ninja Creami pint containers
- Measuring tools
Basic Protein Ice Cream Recipe (Blender Method)
Ingredients
- 1 scoop (25-30g) vanilla or chocolate whey protein powder
- 1/2 cup unsweetened almond milk (or milk of choice)
- 1-2 cups ice cubes
- 1-2 tablespoons sweetener (stevia, erythritol, or monk fruit)
- 1/4 teaspoon xanthan gum (optional, for creaminess)
- Pinch of salt
Instructions
- Add liquid ingredients to blender first
- Add protein powder and sweetener
- Add ice cubes gradually while blending
- Blend on high speed for 2-3 minutes until thick and creamy
- Add xanthan gum if desired for extra creaminess
- Serve immediately or freeze for 15-30 minutes for firmer texture
Protein Ice Cream Without Banana
Many recipes rely on frozen bananas for creaminess, but you can achieve excellent texture without them:
Alternative Base Options
- Greek Yogurt: Adds protein and natural creaminess
- Cottage Cheese: Surprisingly smooth when blended, high in casein protein
- Avocado: Creates rich, creamy texture (use small amounts)
- Cashew Cream: Blend soaked cashews with water for dairy-free creaminess
- Coconut Cream: Full-fat coconut milk provides richness
No-Banana Vanilla Recipe
- 1 scoop vanilla whey protein
- 1/2 cup plain Greek yogurt
- 1/4 cup unsweetened almond milk
- 1 1/2 cups ice
- 2 tablespoons sugar-free maple syrup
- 1 teaspoon vanilla extract
- Pinch of salt
Greek Yogurt Protein Ice Cream
Greek yogurt serves as an excellent base for protein ice cream, providing additional protein and probiotics.
Basic Greek Yogurt Recipe
- 1 cup plain Greek yogurt (0% fat)
- 1 scoop protein powder
- 2-3 tablespoons sweetener of choice
- 1 cup ice cubes
- 1 teaspoon vanilla extract
Preparation Tips
- Use thick, strained Greek yogurt for best results
- Let ingredients come to room temperature slightly before blending
- Strain mixture through fine mesh if lumps remain
Ice Cream Maker Method
Traditional Custard-Style Recipe
- 2 cups unsweetened almond milk
- 3 scoops vanilla whey protein powder
- 3 egg yolks (optional, for richness)
- 1/3 cup erythritol or preferred sweetener
- 1 teaspoon vanilla extract
- 1/4 teaspoon xanthan gum
Instructions
- Heat 1 cup almond milk in saucepan (don’t boil)
- Whisk protein powder with remaining cold milk until smooth
- Combine heated and cold milk mixtures
- Add sweetener, vanilla, and xanthan gum
- Chill mixture for at least 2 hours
- Churn in ice cream maker according to manufacturer’s instructions
- Freeze for additional 2-4 hours for scoopable consistency
High-Protein Ice Cream Variations
Double Protein Chocolate
- 1.5 scoops chocolate whey protein
- 2 tablespoons chocolate casein protein
- 1/2 cup Greek yogurt
- 1 tablespoon unsweetened cocoa powder
- Ice and liquid as needed
Peanut Butter Protein Blast
- 1 scoop vanilla protein powder
- 2 tablespoons powdered peanut butter (PB2)
- 1 tablespoon natural peanut butter
- Greek yogurt base
Whey Protein Ice Cream Recipes
Strawberry Whey Delight
- 1 scoop vanilla whey protein
- 1/2 cup frozen strawberries
- 1/4 cup Greek yogurt
- Ice and almond milk as needed
- Stevia to taste
Cookies and Cream
- 1 scoop vanilla whey protein
- 2-3 chocolate sandwich cookies, crushed
- Greek yogurt base
- Extra cookie pieces for mix-ins
Low-Calorie Protein Ice Cream Recipes
Ultra-Light Vanilla (Under 150 calories per serving)
- 1 scoop vanilla whey protein (100 calories)
- 1 cup ice
- 1/4 cup unsweetened almond milk (10 calories)
- 1 tablespoon sugar-free syrup (5 calories)
- Xanthan gum for texture
Chocolate Mint Chip (Low-Cal)
- 1 scoop chocolate protein powder
- Ice and water base
- Peppermint extract
- Sugar-free chocolate chips (minimal amount)
Popular Protein Ice Cream Brands
Commercial Options
- Halo Top: Pioneer in low-calorie, high-protein ice cream
- Enlightened: Offers keto-friendly options
- Rebel: Focuses on keto and low-carb varieties
- Arctic Zero: Ultra-low calorie options
- Yasso: Greek yogurt-based frozen bars
What to Look For
- Protein content (aim for 6g+ per serving)
- Total calories per pint
- Sugar content and type of sweeteners used
- Ingredient quality and additives
Ninja Creami Protein Ice Cream
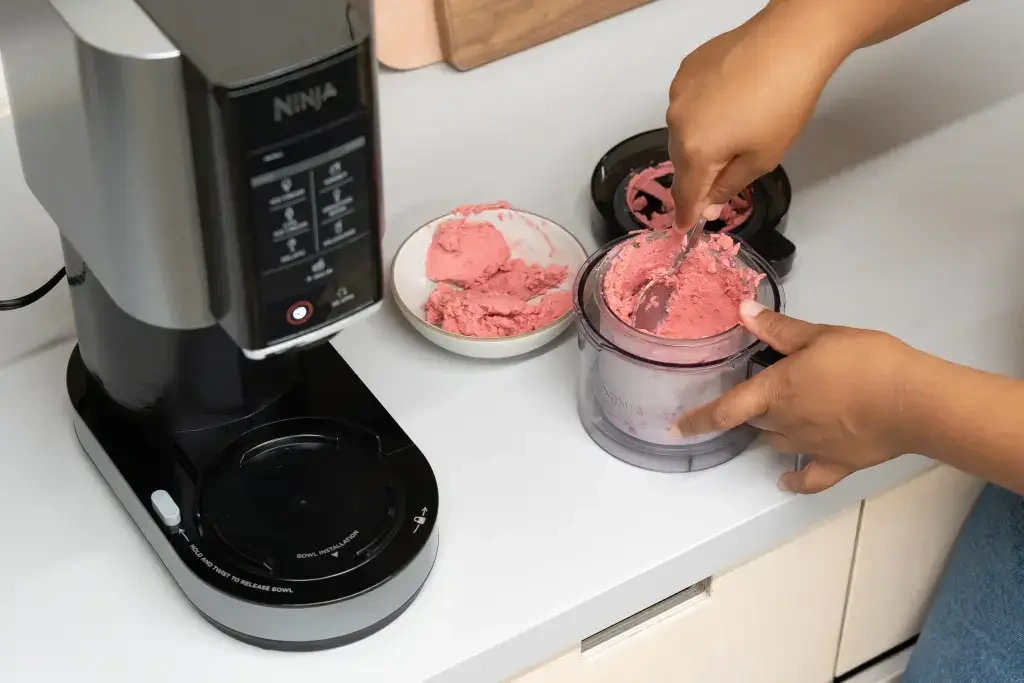
The Ninja Creami has become incredibly popular for homemade protein ice cream due to its unique processing method.
Basic Ninja Creami Process
- Mix base ingredients in Ninja Creami pint container
- Freeze for 24 hours minimum
- Process using “Ice Cream” setting
- Re-spin if needed for desired consistency
- Add mix-ins using “Mix-In” setting
Ninja Creami Protein Base Recipe
- 1 scoop protein powder
- 3/4 cup unsweetened almond milk
- 2 tablespoons sweetener
- 1 teaspoon vanilla extract
- Pinch of xanthan gum
Pro Tips for Ninja Creami Success
- Don’t overfill containers (leave room for expansion)
- Ensure mixture is completely frozen before processing
- Use the re-spin function for smoother texture
- Add mix-ins after initial processing
Advanced Tips and Techniques
Achieving Perfect Texture
- Temperature Control: Slightly thaw frozen bases before blending
- Layered Freezing: Freeze in stages for better texture
- Alcohol Addition: Small amounts prevent over-hardening
- Fat Content: Balance protein with small amounts of healthy fats
Flavor Enhancement
- Extracts: Vanilla, almond, mint, coconut
- Spices: Cinnamon, nutmeg, cardamom
- Natural Flavoring: Cocoa powder, matcha, freeze-dried fruits
- Mix-ins: Add after initial freezing to prevent sinking
Storage and Serving
- Store in airtight containers to prevent ice crystals
- Let soften 5-10 minutes before scooping if frozen solid
- Serve in chilled bowls for best presentation
- Consume within 1-2 weeks for optimal quality
Troubleshooting Common Issues
Texture Problems
- Too Icy: Add more fat (Greek yogurt, coconut cream) or use xanthan gum
- Too Soft: Increase ice content or freeze longer
- Grainy: Ensure protein powder is fully dissolved
- Too Hard: Add small amount of alcohol or reduce freezing time
Flavor Issues
- Protein Taste: Use flavored proteins or mask with strong flavors
- Not Sweet Enough: Adjust sweetener gradually
- Bland: Add salt to enhance flavors
- Artificial Taste: Use natural extracts and flavoring
Recipe Variations by Dietary Needs
Keto-Friendly
- Use full-fat coconut milk
- MCT oil for healthy fats
- Erythritol or stevia for sweetening
- Avoid high-carb mix-ins
Dairy-Free
- Coconut milk or cashew cream base
- Plant-based protein powders
- Coconut cream for richness
- Check all additives for dairy content
Low-FODMAP
- Use lactose-free dairy or alternatives
- Avoid certain fruits and sweeteners
- Stick to approved protein powders
- Monitor portion sizes
Conclusion
Making protein ice cream at home opens up endless possibilities for healthy, satisfying frozen treats. Whether you prefer the quick blender method, the traditional ice cream maker approach, or the innovative Ninja Creami technique, you can create delicious, high-protein desserts that support your health and fitness goals.
The key to success lies in understanding the balance between protein content, texture, and flavor. Don’t be afraid to experiment with different combinations of ingredients and techniques to find your perfect protein ice cream recipe. With practice, you’ll be creating frozen treats that rival commercial options while maintaining complete control over ingredients and nutritional content.
Remember that homemade protein ice cream is best enjoyed fresh, but with proper storage techniques, you can keep your creations for several days. Start with the basic recipes provided and gradually explore more complex flavors and techniques as you become comfortable with the process.
Additional Resources
For more protein ice cream inspiration:
- Experiment with seasonal fruits and flavors
- Try different protein powder brands to find your preference
- Join online communities for recipe sharing and troubleshooting
- Consider investing in quality equipment for consistent results
Making protein ice cream at home is both an art and a science, but with these comprehensive guidelines, you’ll be well-equipped to create delicious, healthy frozen treats that satisfy your cravings while supporting your nutritional goals.
Conclusion
Making protein ice cream at home is a game-changer for anyone seeking healthier dessert alternatives without sacrificing taste or satisfaction. Whether you’re using a simple blender, traditional ice cream maker, or the innovative Ninja Creami, you now have the tools and knowledge to create delicious, high-protein frozen treats that support your fitness and wellness goals.
The beauty of homemade protein ice cream lies in its versatility and customization. From creamy Greek yogurt bases to banana-free recipes, from low-calorie options to indulgent high-protein variations, you can craft the perfect frozen dessert to match your dietary needs and taste preferences. With whey protein as your foundation and endless flavor possibilities, every batch becomes an opportunity to experiment and discover new favorites.
Remember that success comes with practice. Start with the basic recipes provided, master the fundamental techniques, and gradually explore more complex flavors and methods. Don’t be discouraged if your first attempts aren’t perfect – even experienced home ice cream makers continue to refine their techniques.
The investment in quality ingredients and equipment pays dividends in both taste and nutrition. Your homemade protein ice cream will not only rival commercial brands but often surpass them in freshness, protein content, and ingredient quality, all while saving money and reducing unnecessary additives.
Most importantly, you’re taking control of your nutrition without giving up the simple pleasure of a cold, creamy treat. Whether it’s post-workout recovery, a late-night craving, or sharing healthy desserts with family, your protein ice cream creations will become a staple in your healthy lifestyle toolkit.
Start your protein ice cream journey today – your taste buds and your fitness goals will thank you for it.
This conclusion effectively wraps up the comprehensive guide by emphasizing the benefits, encouraging experimentation, and motivating readers to take action while reinforcing the main value propositions of making protein ice cream at home.Retry